
ChiBattery CBCSO Mod: Direct Discharge
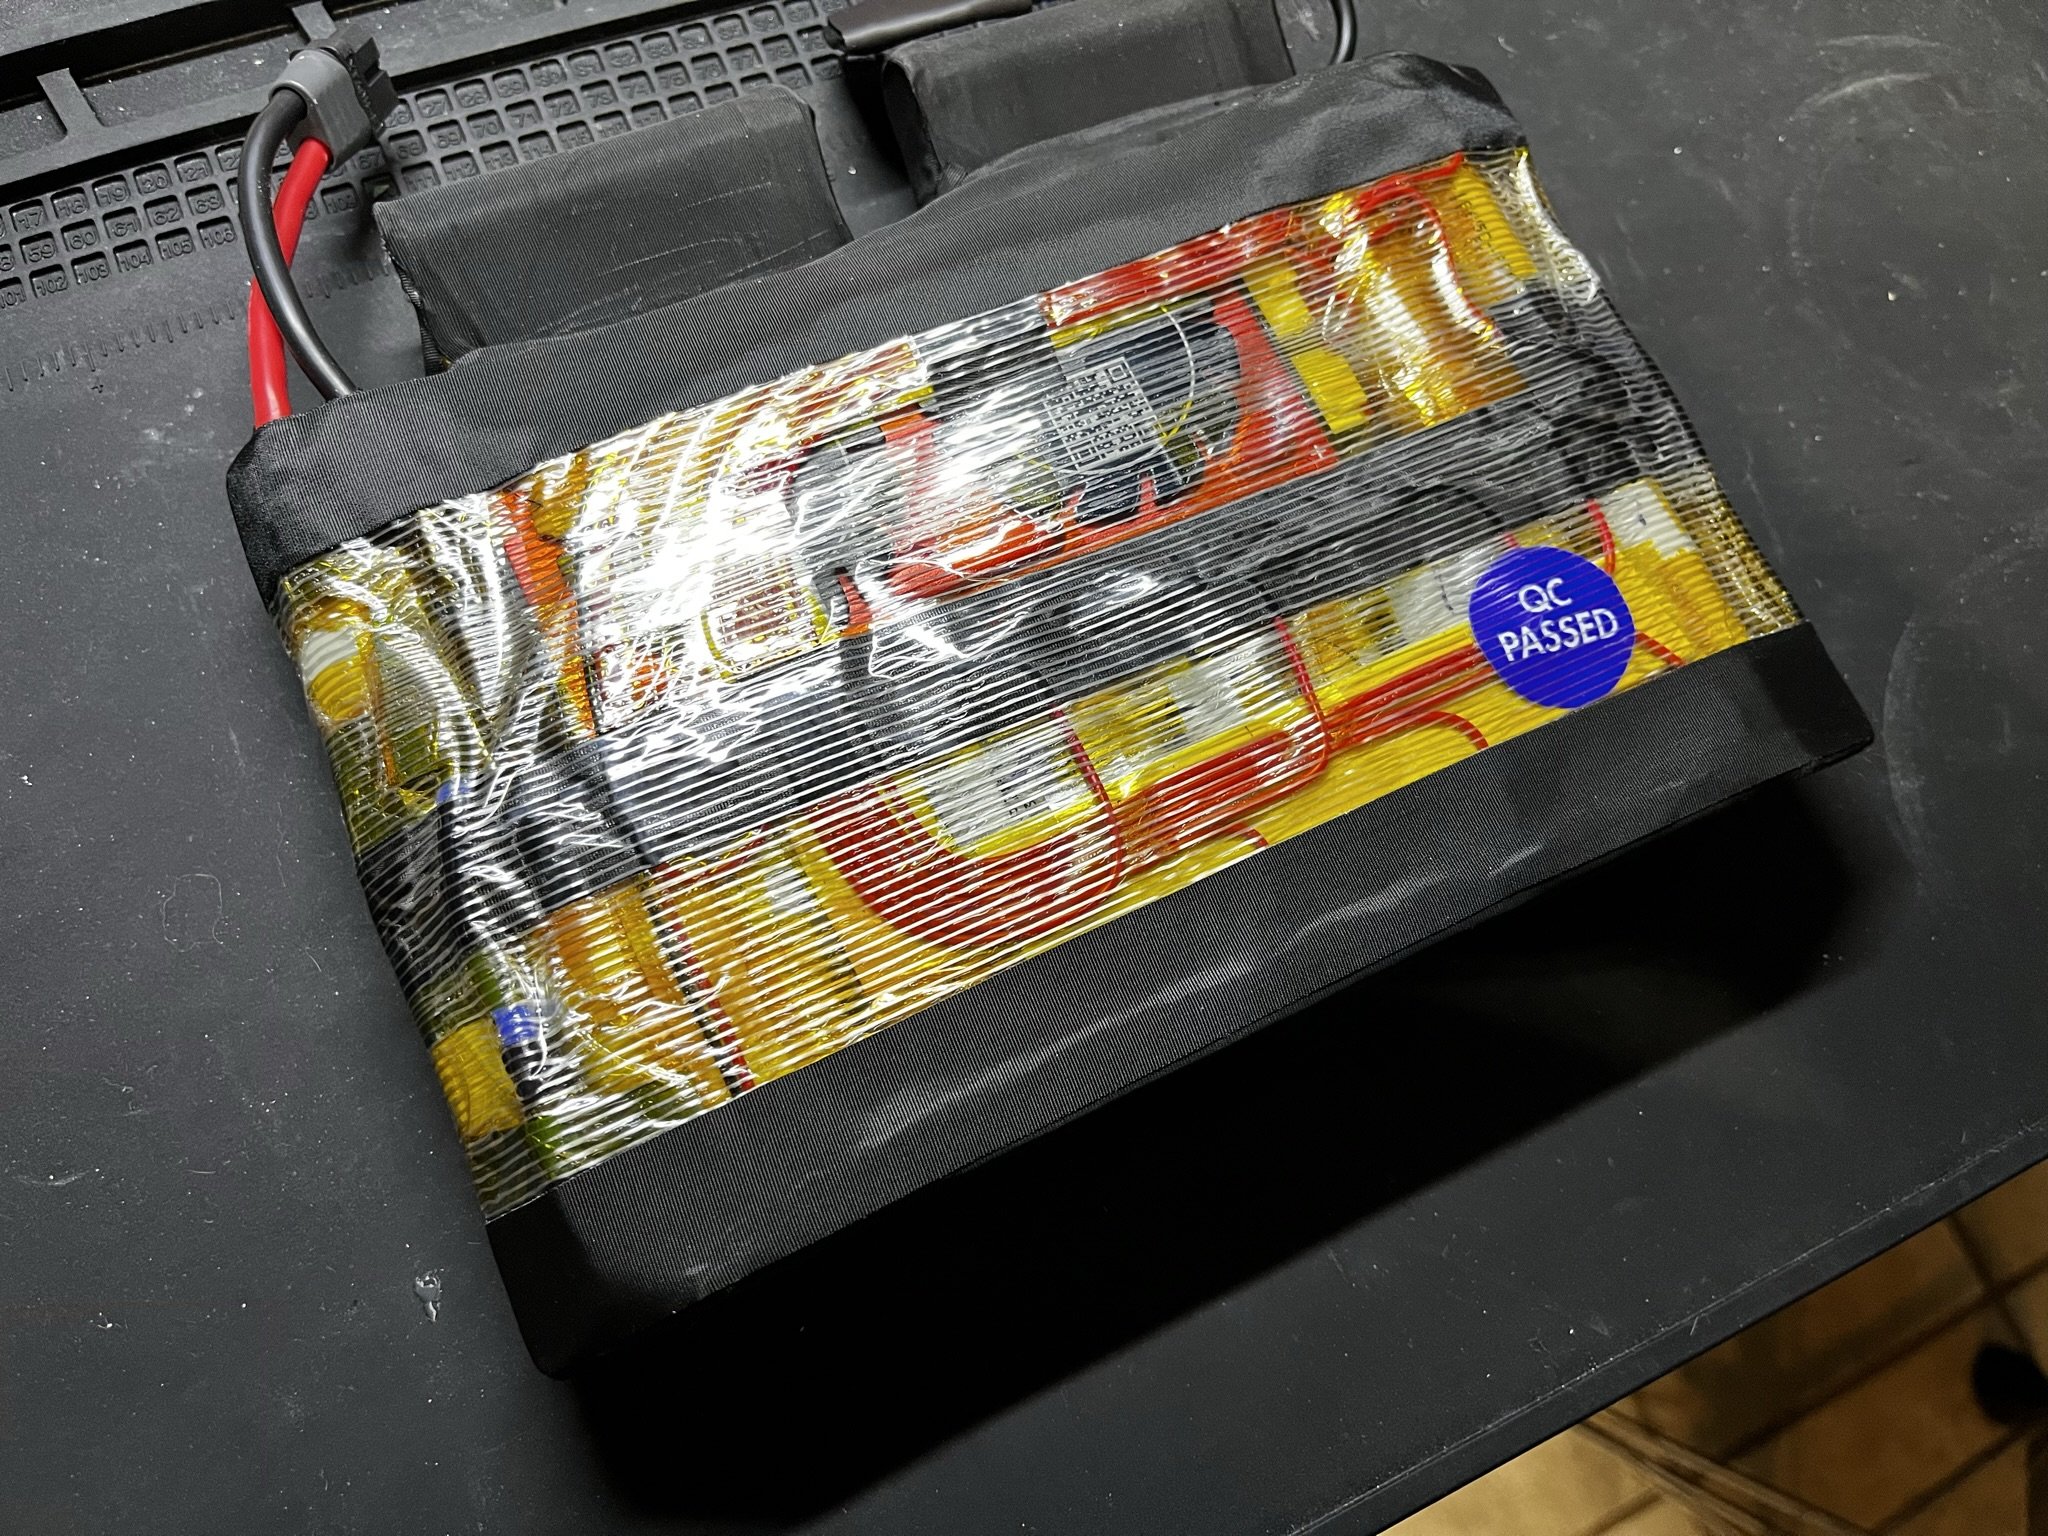
As the VESC-based onewheel community expands and grows, there will inevitably be hiccups along the way. Some end users ordered and received a now-defunct (as far as I can see at this time) product from ChiBattery Systems, the CBCSO. This pack is/was a 20s2p configuration using Molicel P28A cells, and a Daly Smart BMS unit for both the charge and discharge circuits. The BMS is located in the meat of the pack, and so there are some strange fins or wings jutting out from one side of the battery.
It’s odd, uses what I believe are questionable construction approaches, and given the reports of some users on the VESC onewheel groups on social media, not a very high level of quality.
Dado has published some material on his experiences with this pack, and his primary troubles were with the configuration of the BMS.
Now, it is fairly commonplace these days in DIY and higher end custom electric skateboards, to use a “charge only” BMS, or to “bypass” the BMS for discharge. What this means, is that the battery is wired so that the BMS (battery management system) is used in the circuit that connects the charge port of the device to the battery cells. The BMS manages charging, and protects from overvoltage/overcharge, which is one of the most dangerous conditions for a lithium ion battery.
The BMS is then bypassed for the circuit that connects to the ESC. This means that the motor controller draws power directly from the terminals of the battery pack, with no BMS or other circuitry in between.
The user then counts on the ESC’s configuration to protect against overdraw and overdischarge. In the case of a balancing vehicle, this is to be signaled through tiltback, and on an electric skateboard, the ESC reduces the power of the acceleration as the voltage nears empty for the battery, until the battery reads an empty voltage, at which point the ESC simply won’t draw any more power.
Recently, one of the community members sent me some ChiBattery packs to look at, and see if I could modify them a bit to avoid some of the pitfalls of (what is in my opinion) a botched BMS implementation. Below are the images and notes from how I changed a bit of wiring to convert a CBCSO to have a direct discharge, and to use the BMS for charging only.
Please note that this is just a log of how I did this modification. All modifications to any device carry risks, and any DIY work with lithium ion batteries carry risks. Lithium ion batteries in general, carry high risk. This is not something to be done carelessly by someone without experience, nor should it be taken lightly.


Naturally, the pack had to be opened to get to the wiring. Before then, I just checked fit in some boxes. I checked a regular XR box, and the new Funwheel ST battery box. It did not fit in either, but I didn’t expect it to.
Anyway, I then carefully opened the pack by cutting open the PVC shrink wrap, and then peeling some of the tapes away. It’s mostly a fiberglass type of tape, and some strapping tape.
Note that in many packs like these, there is Kapton tape below the fiberglass strapping tape. Strapping tape has VERY strong adhesive, and it usually pulls the Kaptop tape up with it. In cases like these, you may find that the cross placement of the Kapton tape strips will bind as you’re peeling tape off. For this reason, a pair of precision scissors is one of the best tools to have. I use scissors more than almost any other tool when working on batteries. A few careful snips will release stuck tapes, and make things much safer than working with a razor or art knife.


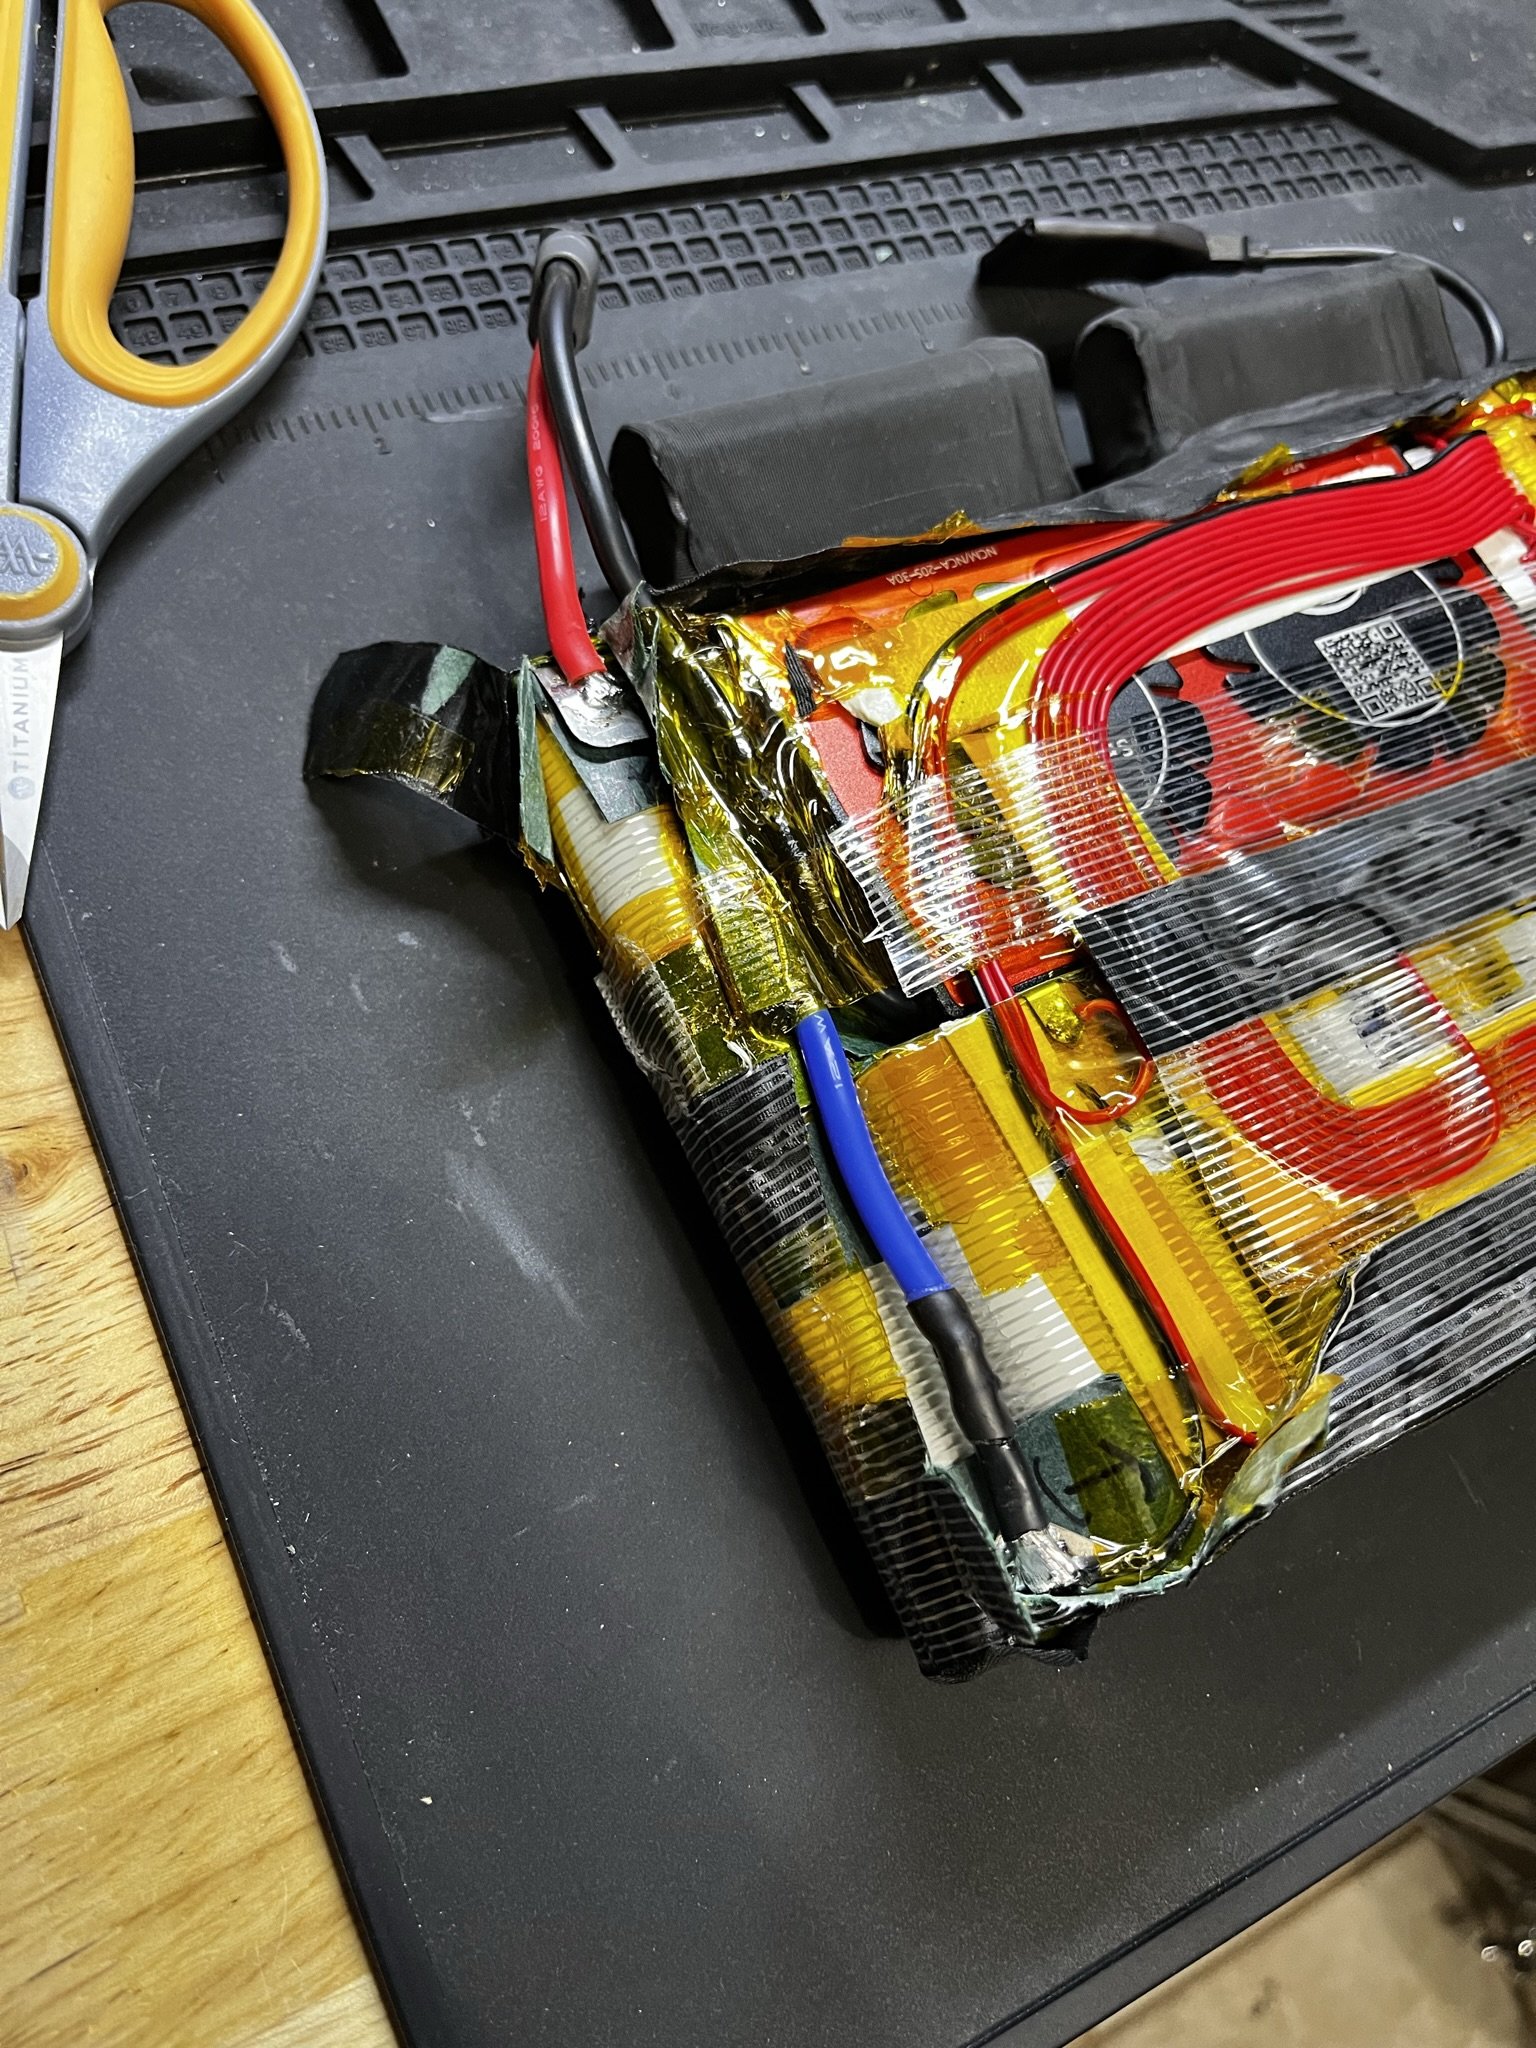

Below the strapping tape, I found the 2 main wires for the BMS. As is customary with Daly units, the blue wire connects to the negative terminal of the pack, and the black wire serves as the negative interaction terminal. Meaning, that black wire serves as the charge and discharge connections for the whole pack. This places the BMS in the negative side of the entire pack, and the red positive wire goes right to the terminal.
What I need to do here is to simply create a parallel connection that goes independent of the BMS, by connecting the desired discharge connector and wires, right to the pack terminal ends.
HOWEVER, in this case, to make the wiring a bit more in line with my own DIY sensibilities, I’m actually going to remove the existing XT60 assembly, and swap in a thinner wire set for the charging circuit.
To do this, I desoldered the black wire that goes to the single XT60, and removed that whole thing. I then made a charge circuit connector with 18awg wire, and an XT30 connector. These smaller parts will allow for tidy wiring (relatively speaking), and a clear idea of which plug is for charging (the smaller one).


I reused the XT60 assembly, and just swapped the existing black negative wire for a longer one (12awg), in order to reach the negative pack terminal farther down.
So now, I have the 18awg and XT30 circuit ready, and I made the 12awg and XT60 reused circuit ready.
I soldered on both of the positive wires together, since they go right to the same spot.
And the new negative discharge wire gets soldered right next to the blue wire from the BMS.

As far as wiring goes, that’s about it.
You end up with two distinct circuits:
XT60 Connector W/ 12awg Wire: Black to the negative terminal of the pack, red to the positive terminal of the pack; direct.
XT30 Connector W/ 18awg Wire: Black to the black BMS wire (connected to the BMS managed circuit, via the P- connection on the BMS unit), red to the positive terminal of the pack.
What’s left is to add fish paper insulation to the areas where it was cut away, and making sure to insulate anywhere wires with different voltages may cross and/or come under pressure together.
New strapping tape and Kapton tape was added where needed to secure wiring, and the previously removed black fiber tape was restored. A new covering of blue PVC heat shrink was added as well.


Lastly, was to charge test it with the bench power supply, just to make sure it functioned normally.
